Percolation Test Method

All septic tank systems must have a drainage field to treat the effluent further before it enters the groundwater.

Many small packaged treatment units also discharge their effluent into a drainage field, primarily for liquid dispersal but also for additional effluent treatment.

The infiltration zone beneath the sub surface irrigation pipe becomes biologically active and enables additional treatment of the effluent. The unsaturated zone beneath this provides attenuation and a pathway for oxygen diffusion for further treatment. A saturated zone provides further dispersion and dilution of the treated effluent.

The siting and design of the drainage field depends on many factors, the most important of which is that there is sufficient suitable land with subsoil capable of absorbing the daily effluent discharge on a long term basis.

The UK regulators have issued documents which provides detailed guidance for planning an off mains system. DETR Circular 3/99 (This is the same as the Welsh Office circular 10/99) – Planning Requirements in respect of the use of Non Mains Sewerage requires that an independent assessment of the site and land is carried out before the installation of a sewage treatment plant. Your planning consent and agreement to discharge effluent requires this assessment.

BS 6297: 2007 is a new code of practice for the design and installation of drainage fields for use in wastewater treatment. It provides recommendations and guidance to aid preliminary planning, detailed site investigation to identify suitable drainage field locations and the assessment of site characteristics. It provides systems designs and layouts including percolation testing and determination of trench area.

Site assessments must be made before equipment is purchased or installed as not all land is suitable for drainage field use. A percolation test establishes the length and area of infiltration trench required to disperse the effluent. Soil porosity can vary across a site and the percolation test should be carried out at the intended location of the proposed drainage field. It should not be carried out in extreme weather conditions such as drought, frost or heavy rain.

Other regulatory documents should be consulted, pollution prevention guideline no. 4 (PPG4) and Building regulations Part H (M in Scotland). However, please note that BS 6297: 2007 provides the latest and most detailed percolation test method, a summary of which follows.

In order to assess the infiltration zone a percolation test is required. A deeper trial hole should be used to identify the soil conditions beneath the drainage field, including the position of the seasonally highest water table. There should be a minimum of 1.2m of unsaturated soil above this position.

Percolation Test Method

1. Excavate at least two holes, 300mm square to a depth at least 300mm below the proposed invert level (bottom of the infiltration pipe), spacing them along the proposed line of the subsurface irrigation system. While digging the hole, note and record changes in soil characteristics at measured depths and the position of the water table if reached.

2. Saturate the local soil by filling each hole with water to a depth of at least 300mm and allow this to seep away completely.

3. If the water drains rapidly, within 10 minutes, the hole should be refilled up to a maximum of 10 times. If the water continues to drain away rapidly, the ground is unsuitable.

4. If the water has not soaked away within 6 hours, the area is not suitable.

5. Determine the percolation rate by refilling each hole with water to a depth of at least 300mm and observe the time in seconds for the water to seep away from 75% full to 25% full (i.e. a depth of 150mm).

6. Divide this time in seconds by 150. This gives the average time in seconds required for the water to drop 1mm.

7. Repeat the test at least three times in each hole.

8. Take the average figure from the tests to produce the percolation value Vp (in seconds).

9. Obtain the average figure for the percolation value (Vp) by summing all the values and dividing by the number of values used.

10. Retain the results, these may be required by the regulator and the property owner.

11. Where the Vp results vary widely (50% above or below the average figure), make further tests on a minimum of three different locations in the area of the proposed drainage field.

12. Drainage field disposal can only be used when percolation tests indicate average values of Vp between 15 and 100 and the preliminary assessment of the trial hole tests has been favourable.

13. The minimum value of 15 ensures that untreated effluent cannot percolate too rapidly into the ground potentially resulting in the pollution of groundwater. Where Vp is above the limit of 100, effective treatment is unlikely to take place in the drainage field as there will be inefficient soakage leading to wastewater ponding on the surface.

14. If the Vp is between 1 and 15, or greater than 100, the regulator should be consulted to identify alternative options for disposal.

Calculating trench area and trench length

The Vp is used to determine the total floor area of the drainage trenches and therefore the total length of irrigation drain. For domestic premises, the floor area of the drainage field required may be calculated as follows.

A = p x Vp x 0.25 for septic tanks
A = p x Vp x 0.20 for package wastewater treatment plants

(i.e. 20% less because the effluent has received additional treatment)

A = required drainage field floor area in square metres (m2)
P = number of people served by the tank (for domestic applications this should be the maximum number of people that could live in the dwelling).
Vp = percolation value.

The calculated area A should be converted to an amount of linear trench based on the width of the trench which is usually between 0.3m to 0.9m. The layout of the trench network will depend upon the soil porosity and the availability of land, but the legs of the trenches should be connected so as to form complete loops.

FLOOR AREA TO LINEAR TRENCH LENGTH
Drainage field
floor area (A) m2
Linear trench length (in metres)
0.3m width trench0.6m width trench0.9m width trench
20663322
301005033
401336744
501678356
6020010066
7023311778
8026613488
90300150100

Where the calculated result indicates the need for a long drainage trench length (200 metres) serious consideration should be given to the use of a package treatment system which has been certified to produce a better quality of effluent. This effluent may, with permission, be fed into a water course or open culvert. Please contact us for further details. All equipment (for less than 50 population equivalent) should meet the requirements of their relevant standard, i.e. EN 1266 part 1 for septic tanks, or EN 12566 part 3 for package treatment plants.

Effluent processed through a treatment plant contains far fewer pollutants and fine solids that that from a septic tank. Therefore the irrigation system is better protected and less likely to block and is smaller. The standard recognises this fact and differentiates. As an example: irrigation systems for domestic applications.

Vp ValuePopulationTrench floor area:
Septic Tank
m2
Trench floor area:
Treatment Plant
m2
4466653
4488871
441011088

In all cases treated effluent;

  • Will have a lower long term impact on the site as less pollutants are discharged
  • Will generate fewer solids thus preserving the life of the irrigation system
  • Requires a smaller irrigation system which is less expensive to install and easier to locate on a restricted or poorly draining site.

Irrigation System Design

Your recommended certified installer should be consulted regarding the design and fabric of the drainage field for your specific site. BS 6297: 2007 provides detailed design and installation advice and advises of features influencing the position of wastewater treatment equipment and drainage fields. e.g. not closer than 7m to a building. Drainage fields should be a minimum of 10m away from a water course or ditch. 2m away from site boundaries, away from trees and plants with extensive root systems, and from existing supply services, access roads and other drainage fields. The detailed preliminary assessment should have identified other limiting criteria such as water abstraction areas, a Site of Special Scientific Interest (SSSI) etc.

In brief, after the septic tank or treatment unit, the effluent pipe should be connected to an inspection and/or distribution chamber which leads to the drainage field. This should be designed as a closed circuit with facilities for inspections and maintenance. The layout should ensure even distribution throughout the absorption field, avoiding steep gradients on sloping sites. An inspection chamber at the further point from entry on each leg or loop is advisable.

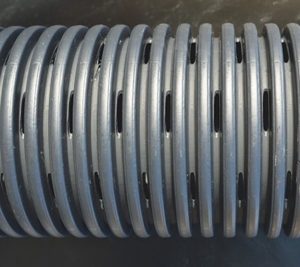
The drainage/sub-surface irrigation system should be very carefully constructed using 110mm downward-facing slotted/perforated pipes laid in trenches with a uniform gradient not steeper than 1:200. The trenches should be between 300mm and 900mm wide and minimum 1m wide strips of undisturbed ground should be maintained between parallel trenches. The pipes should be laid on a 200-300mm layer of clean gravel granular fill material graded either 16-32mm or 20-50mm. The trenches should be filled with the same material to a level 50mm above the pipe and covered with geotextile material to prevent the entry of silt. The remainder of the trench can be filled with normal soil. Pipes should be laid at a minimum depth of 200mm below the surface. Corrugated pipes designed specifically for land drainage should not be used.

Our drainage experts are always on hand to advise you on your best solution, so feel free to give us a call on 01773 767611, or get in touch with our quick contact form.

How To Install A Septic Tank

Whether you are replacing a septic tank or installing a new one – ensuring proper installation is essential. Improper septic tank installation can have serious safety, legal and financial implications, so use Drainstore’s expertise to make sure you get it right.

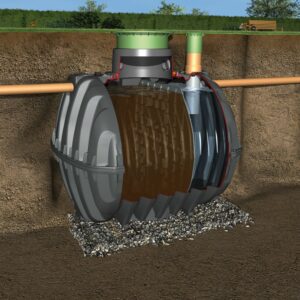
Installation of a Graf Carat Septic Tank

Why use a septic tank?

In rural areas, or locations such as tourist sites, campsites, and festival grounds, access to mains drainage is often impractical, expensive, or simply impossible. Water users in such areas cannot simply flush and forget – the effluent must go somewhere. Private independent drainage systems for handling foul water must be used. Installing a septic tank is often the best choice to deal with such a problem.

Some properties may be required to replace or install a septic tank or sewage treatment plant as part of the 2020 General Binding Rules which govern the amount and quality of effluent allowed to be discharged to water courses. These rules are to protect the environment and ensure both the area and its habitants (human and otherwise) remain healthy. Installing a septic tank can also have positive impacts for selling a home or property, especially where the previous system (or lack thereof) falls foul of the new regulations.

The legal requirements of installing a septic tank

Local water authorities have the power to test any off-mains drainage system to ensure compliance with the 2020 General Binding Rules, and can take legal action against the owner if the system is non-compliant. If you are unsure if your system is suitable, please contact our drainage experts who can make sure you have the right products for your purpose. Drainstore also offer a free site visit to provide the best service for septic tank installation.

As a brief overview of the new rules, septic tanks must:

  • Be rated to BS EN 12566-1 Standards
  • Be installed no less than 7 metres away from an inhabited building
  • Be installed within 30 metres of an access point
  • Only service the sewage/wastewater needs of a number of people given by the local authority and the size of the tank
  • Not be installed in Zone 1 of a groundwater source protection zone
  • Discharge only into a soakaway/drainage field which complies with Building Regulations or BS 6297
  • Not discharge directly into a watercourse
  • Be approved for discharge by the Environment Agency (England and Wales), SEPA (Scotland) or DEARA (Northern Ireland)

To ensure your drainage field is appropriate, you should complete a percolation test and ensure that it follows the regulations for drainage fields.

Surveying the installation site

There are also legal requirements to who can discharge to a drainage field or watercourse based on the location of the nearest mains drainage. If the mains sewer is close enough to the property, the local water authority will not grant permission to discharge elsewhere. Permits will also be needed in cases where the proposed drainage is close to nature reserves, wildlife sites, and other protected areas. If in doubt, Drainstore do free site visits – so you can be sure to get the best advice for your septic tank installation. We can help conduct Groundwater Protection Zone searches, percolation tests, and determine the water table level at your property.

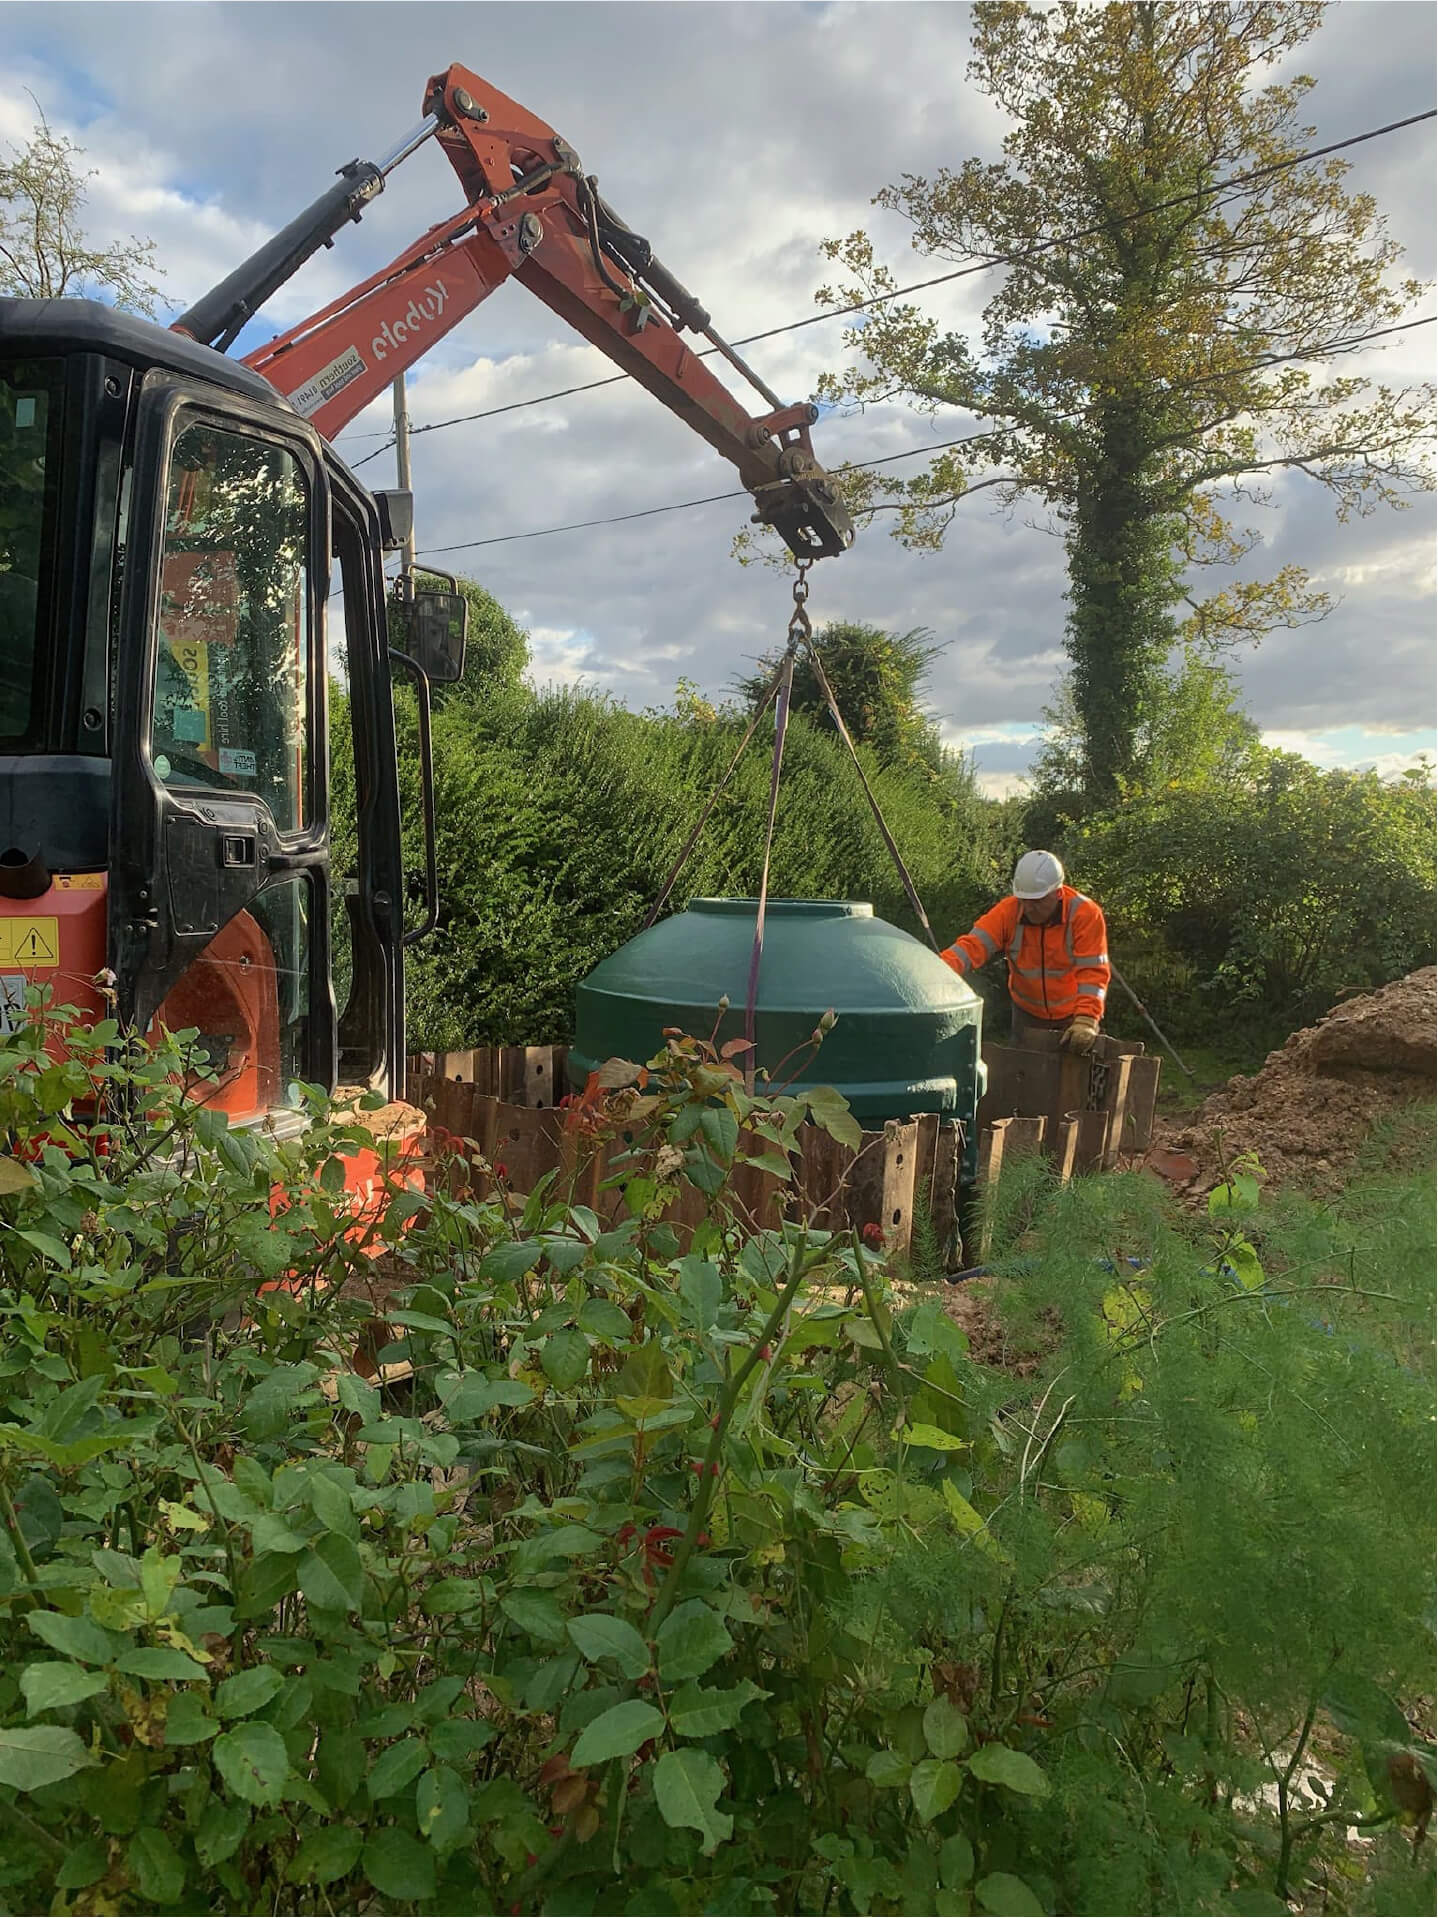
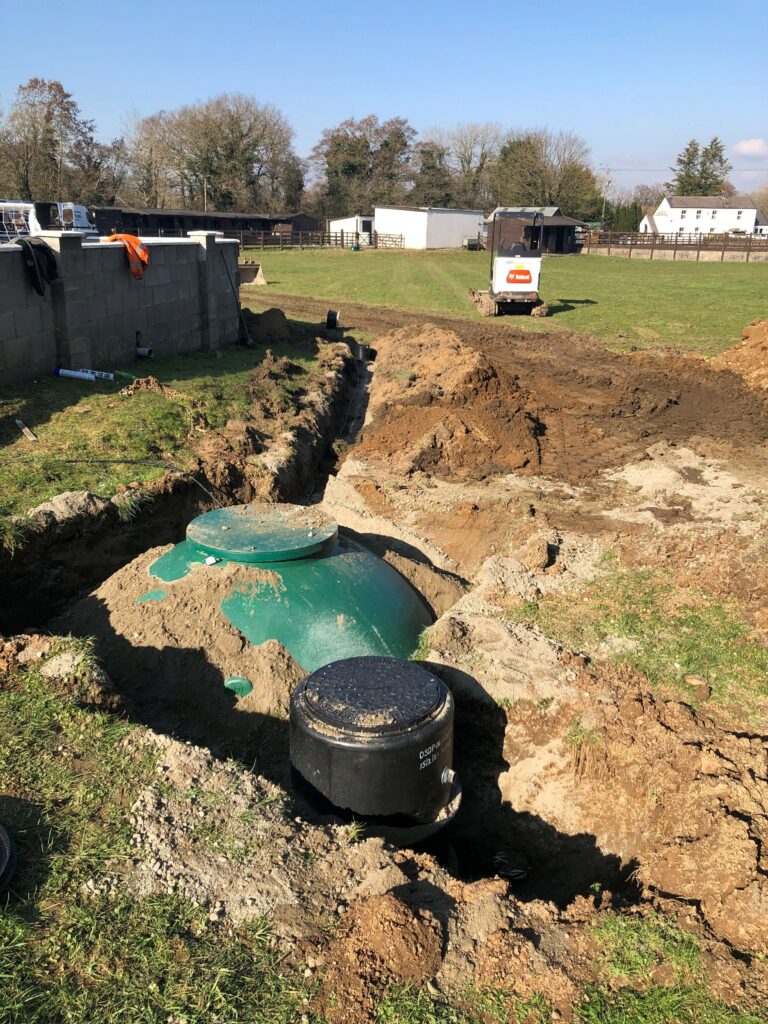
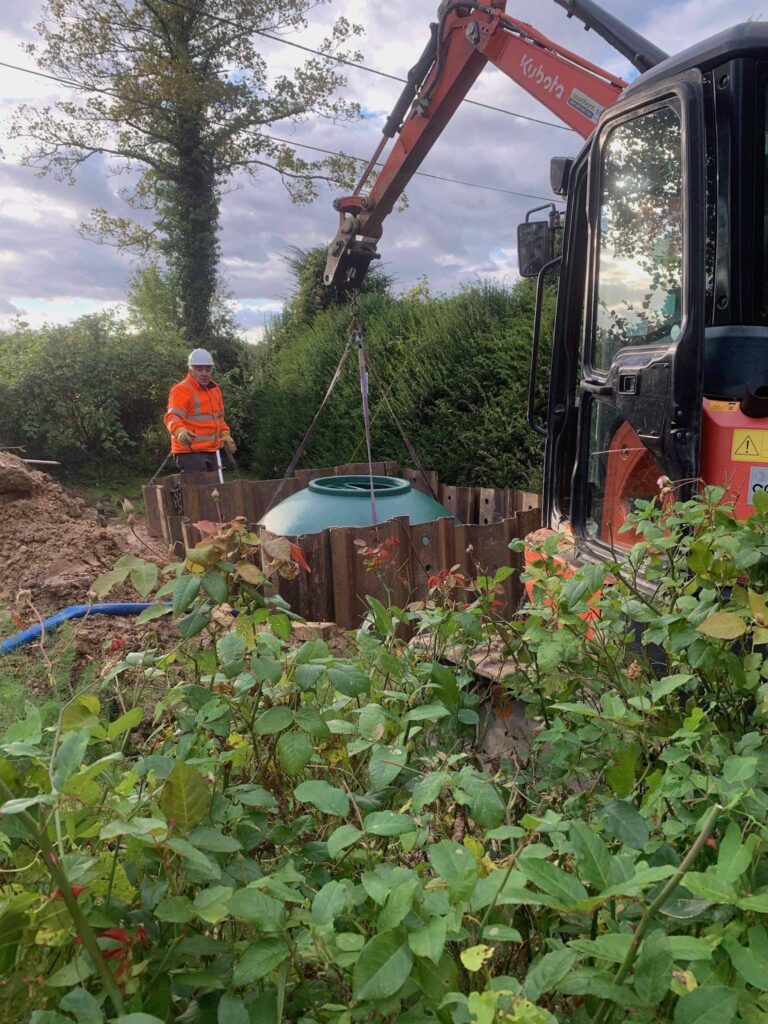
Installing the septic tank

We recommend that the installation of your septic tank is done by properly trained and qualified experts, to ensure compliance with the regulations and to avoid future costs and damage to property. This is especially true for more complex installations such as those involving multiple properties, multiple tanks, or large population sizes. Drainage experts will also be able to get your septic tank and drainage up and running much more quickly.

There are usually detailed instructions that manufacturers will provide with the equipment, which also have detailed notes about health and safety protocol as well as the installation guidelines.

To give you an idea of what will be involved, here is the general process for installing a septic tank.

  • Ensure consent for discharge by the local water authority
  • Ensure Building Regulation approval
  • Septic tank inspection for damage during delivery
  • Excavate the site and keep free of rising groundwater during installation
  • Calculation of drainage falls
  • Placing the tank
  • Using the proper backfill to support the tank
  • Installing the inlet, outlet, and access
  • Installing the drainage field
  • Fitting the cover and frame
  • Considering the necessity of ventilation

To reiterate – the process is best carried out by trained professionals who have experience in all of the above steps, and who can advise you on operation, maintenance, and other drainage options. This will ensure you have the right equipment, and that it will be installed properly in order to continue proper operations for years to come.

Drainstore are experts in septic tank installation and replacement. If you have any queries or are looking for advice, call us on 01773 767611 or use our contact form.

Happy customers!

I spoke to Drainstore in June 2021 after my previous supplier let me down. They designed a solution to replace two septic tanks in my rural property and were on-site within two weeks to start the work. They turned up promptly each day and completed the work on-time and within the quote that was provided before the work started. To complete the installation, the team had to dig up the lawn but they carried that out carefully and now, three weeks later, it is difficult to see where they laid the pipework. It was particularly important that the work was done promptly, sympathetically and with minimum disruption as I am in the process of selling my house and they certainly delivered on all three counts. I would strongly recommend you speak to Drainstore if you need any septic tank work doing.

Ian Morgan Google Review

We had a septic tank and soak away replaced with a domestic sewage treatment plant. It was not a small job for us and pretty important too. Drainstore provided a wholly professional service, delivered on time (a day early actually) with respect, humour and sound advice. And within budget.
Could not have been easier for us.

Kieth Google Review

I run a drainage business which installs pumps and tanks on a regular basis and I have used Drainstore for the last 4 or so years. They have always been great with their customer service and technical advice to make sure you get the right tank for the specific site conditions. Tanks always arrive when they promise and the prices are competitive. Special thanks to Adrian on the phones who is always going the extra mile to help us.

Chris Berry Google Review

How To Install Drainage In Your Garden

Why should you install drainage in your garden?

While gardens thrive with sufficient water, too much can cause significant issues with both the land and its flora. Too much water in the ground can lead to root rot and diseases for your plants, and shifting and puddling for your landscaping – it could even lead to flooding of your property. With the changes to weather patterns across the UK, installing drainage in your garden is generally recommended, provided you do it correctly. Read on to find out the best methods for installing drains in your garden.

How do you know you need to install drainage?

Usually a waterlogged garden is fairly easy to spot – what was once a pleasant walk through cultivated land becomes a slog through marshland and puddles. If you hear squelching sounds from your soil when you walk over it, or see an abundance of puddles across your space – your garden has too much water! Other signs your garden requires drainage include the presence of moss or reeds, paving slabs that come loose or unlevel, a large number of worms coming to the surface, or if your plant stems are turning yellow.

Typically, every garden can benefit from drainage. The removal of excess water will not dry your plants out, but will instead keep them healthy for time to come. As the risk of flooding becomes the reality for more and more properties across the UK, being pro-active and making sure you have the right systems in place can save you time, money, and worry.

Types of garden drainage

There are different kinds of drainage that we would recommend based on factors such as the severity of the surface water, the frequency of the problem, and the size of the affected areas. We would also take into account the aesthetics of the drainage system, and understand the need for different drainage systems where the garden meets the house, for example.

Follow each link to read more about each drain, or browse at your leisure.

Simple Ditches

By far the easiest method of drainage, a simple ditch is simply a loped channel dug out of the ground to divert water to a different area. While usually quite effective, it does have a significant visual impact, and effectively removes usable space from your garden. However, this kind of drainage ditch can be useful for short-term and emergency solutions.

To create a simple ditch, locate where the water is being pooled. Then dig a trench up to a meter deep from the affected area to a place you would like the water to drain to. Ensure the sides of the ditch are sloped and that the end of the ditch is dug out somewhat lower than the rest of the drain.

French Drains and Piped Drainage

French drains are particularly effective at draining an area of land as unlike some drainage methods such as the simple ditch, they can drain water from a whole area rather than a certain spot. Traditionally, French drains are not a particularly long-term solution due to sediment build up over time, but with the addition of perforated drainage pipes they can be an effective solution for domestic gardens.

Using a string and level, dig a trench in the direction of the drain, and line the trench with landscape fabric before laying down gravel. The membranous fabric will help dissipate the water to the soil at a rate that the soil can take without causing problems. You can use perforated land drainage pipes for your French drain within the gravel layer to improve the speed and efficacy of the drainage, especially for areas that have uneven soil or places that accumulate more than a single puddle after rainfall. Cover the gravel with topsoil to complete the drain. Once the foliage has grown back, the drain will be invisible.

Surface Water Drains

Surface water drainage may already be installed on your property, and is a great way to prevent flooding and standing water problems. It usually consists of rainwater pipes on the roof, including guttering, and underground pipework such as sewers and surface water drains. These systems are designed to move the surface water (rainfall, pond overflows, French drain outflow, etc) directly into drainage areas and watercourses, without the need for them to go to the sewers.

What other steps can I take to improve drainage in my garden?

There may be a need for extra precautions, such as using soakaway/attenuation crates or soakaway systems, or even more specialised solutions. If it’s an emergency situation, you may need to use submersible rainwater pumps. Drainstore offer drainage installation services covering all drainage applications.

Our drainage experts are always on hand to advise you on your best solution, so feel free to give us a call on 01773 767611, or get in touch with our quick contact form.
How To Reduce Flooding Risk With Soakaways

As substantial rainfall becomes more common, so to does the flooding of surface water drainage systems. Once the amount of water being collected and transported exceeds the system’s capacity, it spills over the ground and causes flooding. Apart from being a huge inconvenience, it can cause significant amounts of damage to businesses, properties, and belongings. With combined sewer systems where rainwater and foul sewage flow into the same sewer, it can cause an even bigger problem if the sewage were to flood your property, causing more damage and posing a serious health risk.

What is a soakaway?

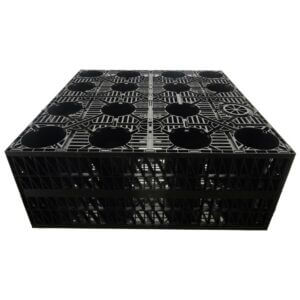
A soakaway (also known as an attenuation unit) collects rainwater before slowly releasing it back into the ground at a rate the soil can absorb. This means that instead of overloading the drainage system, the water is stored until it can be released harmlessly into the ground. Previously, soakaways were pits filled with gravel to create pockets for the water to sit in. Modern soakaway crates improve on the idea and usually use plastic crates wrapped with geotextile fabric. There are also more heavy-duty concrete options. The crates allow more water to be stored and the fabric has a permeable membrane allowing water to escape and keeping soil and debris from lowering the efficacy of the soakaway.

Soakaway crates come in various shapes and sizes and are usually modular in design, and are fairly simple to install. A drainage expert can calculate the size of soakaway that is appropriate for your property and usage requirements. They are a great preventative measure for avoiding months of recovery and large costs to repair the damage after a flood.

How to avoid a blocked soakaway

If a soakaway is blocked, you will often see puddles, waterlogging or dips in the ground near the site of the crate. If the blockage is particularly bad, there may be some overflow near the drains that connect to the soakaway system. At this stage it is usually best to dig up and replace the soakaway.

To prevent a blocked soakaway, the most important thing is to make sure it is installed correctly. This means that the crates are properly wrapped in the geotextile membrane, the pipes are properly installed and supported to prevent collapse, and the correct type of backfill is used to support the crate and reduce the chances of blockages preventing the soakaway from performing as it should.

You should also consider installing a pre-filter such as a silt trap. While the geotextile fabric prevents soil from clogging up the crate, debris can still enter from the surface drains. A silt trap is a simple way to prevent this and prolong the life of your attenuation unit.

Drainstore are experts in installing all kinds of drainage systems, including attenuation units. If you have any queries or are looking for advice, call us on 01773 767611 or use our contact form.

Manhole Cover Replacement Guide

A manhole cover is a removable plate that acts as a lid over a manhole opening. The main purpose is to prevent any person or debris from falling in, to keep out unauthorised persons or animals, and to give access to the underlying drainage for inspection and maintenance. Old or unfit manhole covers pose a danger to both those working on site and people passing by.

Manhole Cover Guide

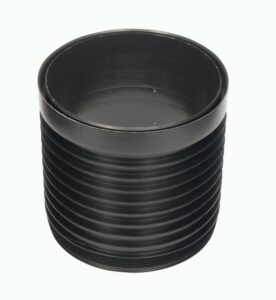
Modern drainage systems will typically have a plastic chamber riser that the manhole cover connects to.

Shallow plastic chamber riser

Most manhole covers come with both the cover itself and a frame, which is usually bedded on mortar set to a height to make the manhole cover flush with the surrounding ground when it is placed on top. The frame will remain in place while the cover is removed when access is required. The frame will screw onto the riser to hold it in place, and the manhole cover will lock to the frame with the use of securing screws.

Most manhole covers are round, for three good reasons:

  1. The cover cannot be dropped into the manhole, as the diameter will be slightly larger than the manhole itself.
  2. The cover can be rotated easily and will always fit.
  3. The round shape is more able to resist the natural compression forces of the earth around it.

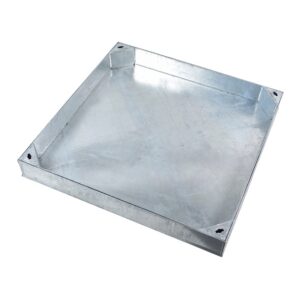
In cases where the appearance of the landscape needs to be maintained, there are also recessed manhole covers (also known as driveway manhole covers). These include a tray where material such as bricks, screed or asphalt can be placed.

Recessed manhole cover

Cover Load Capacities

  • 2.5 Tonnes – suitable for gardens or pedestrian areas
  • 5 Tonnes – suitable for domestic cars (e.g. for driveways)
  • 10 Tonnes – suitable for small trucks and vans

How To Choose The Correct Manhole Cover

Measure the opening size

Manhole covers are measured by the size of the opening when the cover is removed – the distance/diameter between the inside walls of the frame. Measuring the size of the old cover will not be helpful!

Replace the cover and the frame

You should always replace the old frame completely with the new unit with the correct size and loading capacity for your purpose. Fitting a new cover in an old frame may lead to an imperfect fit, which can have safety implications and reduce the lifespan of your manhole cover and frame.

Select the correct loading capacity

Using the wrong load capacity of cover can lead to serious injury. You can avoid safety and financial risk by investing in the proper equipment. Take a look at our range of manhole covers and frames to find the right cover for your needs.

How to install the new manhole cover

Installing a manhole cover is usually a fairly simple process with the right products.

  1. Remove the old frame and the surrounding material.
  2. Level and bed the new frame.
  3. Backfill the installation.
  4. Install the manhole cover.

Drainstore are experts in installing all kinds of drainage systems, including manhole and access covers. If you have any queries or are looking for advice, call us on 01773 767611 or use our contact form.

Picking The Right Sewage Treatment Plant For Campsites

People prefer to camp outside of the cities, in full view of beautiful, uninterrupted landscapes and away from the tall buildings, loud city noises – and mains drainage. Typically, caravan parks and campsites do not have access to the mains sewers and rely on their own wastewater treatment systems. Picking the correct sewage treatment plant for campsites is then crucial – a breakdown in the system can have drastic implications on the property, the business, and the experience of the holidaymakers.

With the UK holiday market growing ever larger and campsites becoming more and more popular, it is vital to make sure you have the correct system installed.

Note: Sewage Treatment Plants are not suitable for the disposal of chemical toilet waste such as those found in touring caravans and motorhomes. Drainstore can provide chemical toilet disposal units and tanks fit for this purpose – find out more about our Elsan tanks.

What are sewage treatment plants?

Similarly to septic tanks, sewage treatment plants are designed to handle wastewater. The difference is that they use bacteria to treat the sewage, making the effluent non-polluting and safe to discharge to streams or ditches. This means that the area surrounding the camp grounds is not threatened by the sewage, and the flora and fauna can remain healthy for all visitors to enjoy.

Despite some operational differences, sewage treatment plants all use the same general method for cleaning sewage prior to discharge. The foul water flows into a primary chamber, where solids are separated from the liquid via gravity and stored for later removal (typically once a year). The remaining liquid flows into a secondary chamber, where compressed air is pumped in. This allows naturally occurring aerobic bacteria to take care of remaining pollutants in the sewage. The bacteria is then removed from the water, which then flows out to be discharged in a soakaway or to a watercourse.

Preparing the campsite for a sewage treatment plant

Some sewage treatment plants, such as the Klargester Biodisc, use rotating discs to allow maximum contact between the sewage and the bacteria. Other plants use compressed air – as such, sewage treatment plants will need a power source.

In cases where the treated effluent will be discharged to a stream or river, or are within a natural conservation area, Environmental Agency approval may be required. The new rules for septic tanks and sewage treatment plants came into effect in 2020 – even if you already have a sewage treatment plant you should make sure that it complies with the General Binding Rules to avoid financial and legal issues. If you are unsure, please get in touch with our experts who have experience with installing drainage in many situations and can help ensure your system is correct and follows the law. You can also find more information and check if you will need a permit at gov.uk.

How to choose the right sewage plant

There are strict rules for choosing the a sewage treatment plant given the number of people who will be producing wastewater (known as the population size), as well as the number of facilities. Campsites in particular have extra considerations, as the demand of the sewage plant will vary with seasonal holidays, weather, and even between weekdays and weekends. As such, you will need to make sure your sewage treatment can handle both peak demand as well as the low points.

We can advise you on the correct plant to install, as well as the best methods to ensure the long lifetime of your system.

Drainstore are experts in installing sewage treatment plants. If you have any queries or are looking for advice, call us on 01773 306681 or use our contact form.